


TL;DR - FlutterFire is a set of Flutter plugins that enable Flutter apps to use Firebase services. It's very close to plug & play, but you'll have to know where and how to start. There are 6 steps for this explanation, but if you follow along, the next time you create a new project you will skip steps 2 and 4 and you will probably already know about 6.
Why use FlutterFire over regular Firebase
There are two main reasons why I prefer the use of FlutterFire CLI over the 'regular' Firebase way:
Errors. Or better, the lack of errors. You will not need to type anything in gradle files or copy-paste json files or whatever. You and your buddy console can just type in happy stuff and be done with it;
Time. And by time, I mean, the absolute awardwinning saving of copious amounts of precious time.
Prerequisites
Node.js installed: Node.js (or any other way to use npm commands);
An active account on Firebase: Firebase Console;
An IDE. I don't care which one. They're all awesome, but in this example I use Android Studio;
SMILE. This is going to be fun.
Step 1
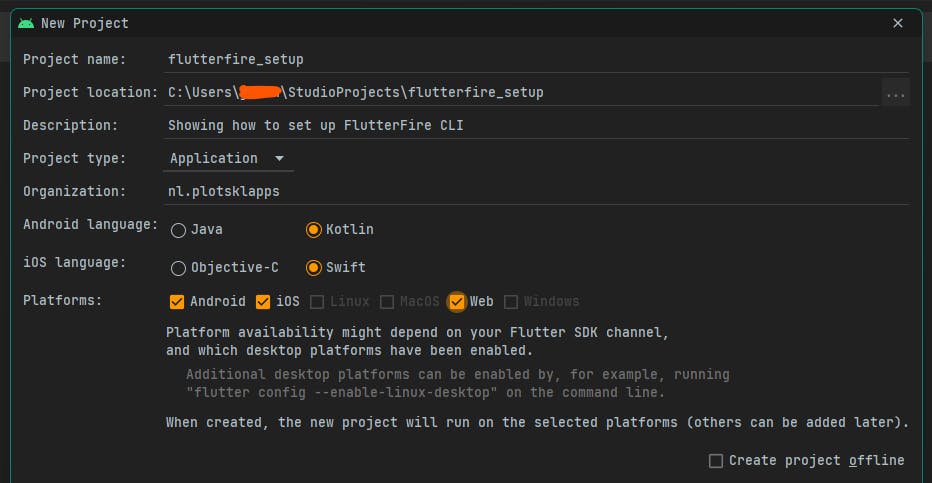
Create a new Flutter project or open one you would like to use Firebase with:
Step 2
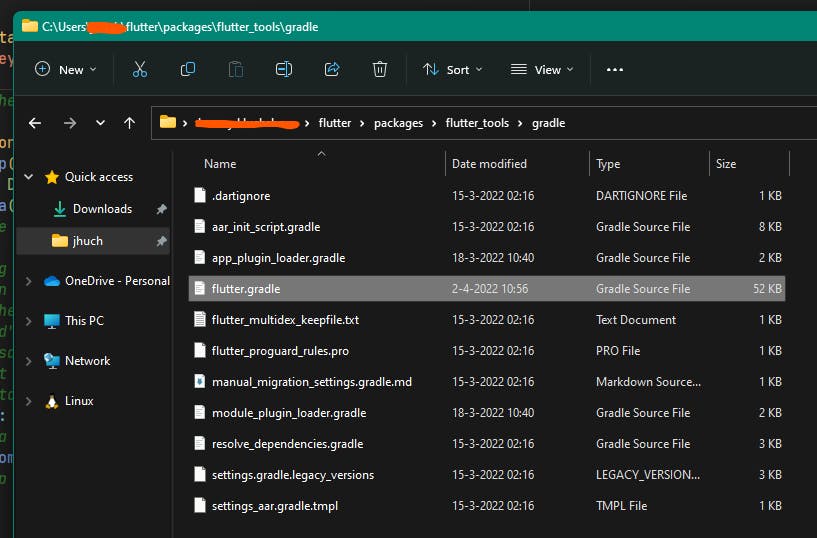
BEFORE we go on, let us change the SdkVersions in the gradle files. (EDIT: The filename to do this has changed to flutter.groovy. Do NOT alter the flutter.gradle file anymore!). Why? Flutter sets the minSdk to a lower version than Firebase wants. You can hardcode these in the corresponding files, OR you find this file:
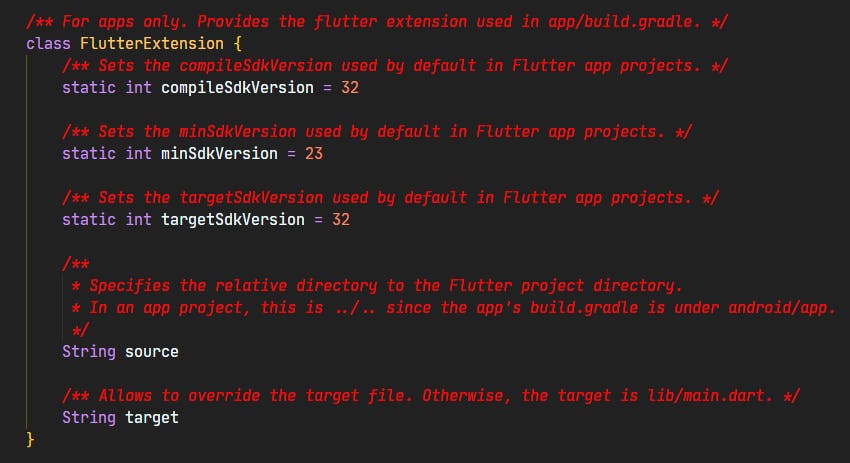
Change the compileSdkVersion and targetSdkVersion to the latest stable Android SDK version (32 in my case) and set minSdkVersion to AT LEAST 23 <- Important!
(This ofcourse might change in the nearby future. Consider upping the minSdkVersion to 24 or higher if errors keep occuring during builds.)
Step 3
Go back to your project and enter the following commands in your terminal, one after the other:
flutter pub add firebase_core
flutter pub add firebase_auth
flutter pub add cloud_firestore
flutter pub add firebase_analytics
flutter pub get
Congratulations! You're now halfway there.
Step 4
Now that we have set up the pubspec.yaml file with our dependencies for Firebase, we can focus on the actual CLI. Run:
npm install -g firebase-tools
(This will give (deprecation) warnings and stuff, but don't worry for now!)
Now enter:
dart pub global activate flutterfire_cli
The result for me is:
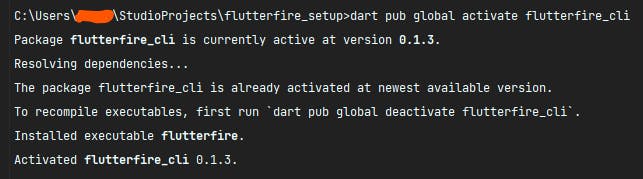
But ofcourse, since you don't have it yet, it might look different.
Step 5
Input:
flutterfire configure
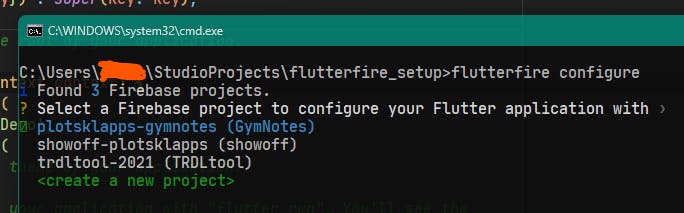
Choose create a new project

If you run into an error which does not ring a bell: the name has probably already been taken. Just start over, choose something else and the error won't occur again.
This is what you should see after you've followed along with the CLI:
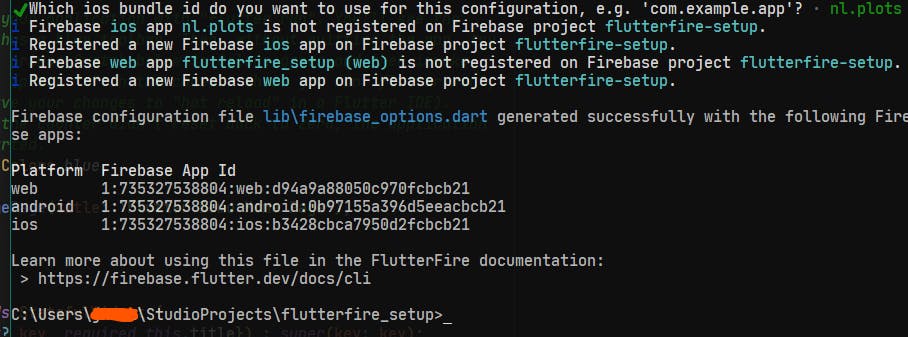
(This project will have been deleted after I upload this to Hashnode, so please don't bother fiddling around with my appId's :) )
Step 6
I assume you know how to work with Firebase from here on, but I will leave you with this last snippet to make sure everything will work:
Change
void main() {
  runApp(const MyApp());
}
into
Future<void> main() async {
  WidgetsFlutterBinding.ensureInitialized();
  await Firebase.initializeApp(
    options: DefaultFirebaseOptions.currentPlatform,
  );
  runApp(const MyApp());
}
Now GO AND HAVE FUN!
If you have ANY feedback on, or questions about this article, do not hesitate one second to contact me on Twitter!
I'm planning to write my next article about Firebase authentication with email verification and password resets and stuff, continuing on the current project. So please stay tuned.
Have a great day!